
Salon Planning
How to Choose Layers for Your Haircut: 4 Steps
Decide where haircut layers should begin by defining the goal, mapping hair behavior, comparing layer zones, and writing a clear salon brief.
 Diane Bennett8 min read
Choose haircut layers by defining whether you want movement, face framing, weight redistribution, or a softer perimeter; then map your density, strand diameter, texture, length, and routine. Compare high, medium, and low starting points, preserve the shortest length you need for tying back, and give your hairstylist a brief describing visible outcomes rather than prescribing a cutting technique.
Key Takeaways
- “Layers” is not one haircut; the starting point, spacing, connection, and remaining perimeter create different results.
- Shorter or more numerous layers do not automatically create a better shape and can reduce visible fullness at the ends.
- Describe where movement should appear and what must remain long, then let a hairstylist choose the technique.
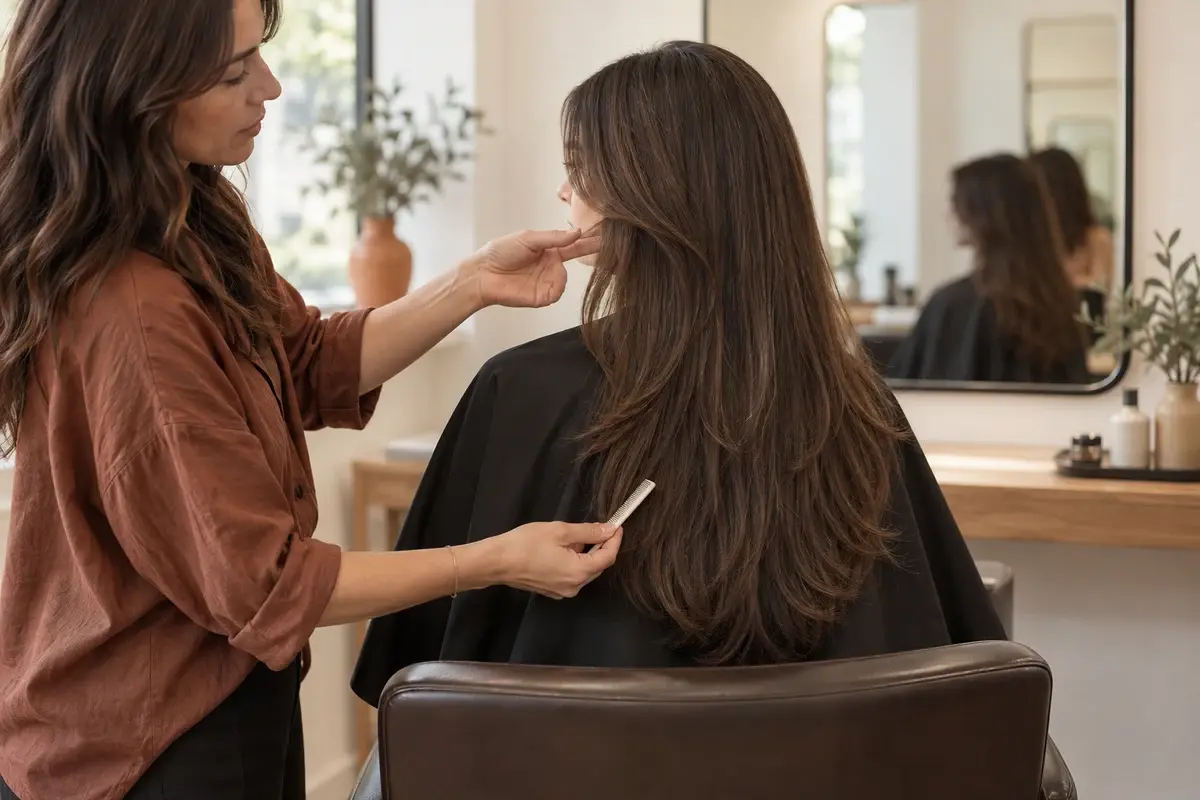
Asking for “layers” leaves the most important decisions unanswered. Layers can begin near the crown, cheekbones, jaw, collarbone, or only near the ends; they can be obvious or blended, concentrated around the face or carried through the whole haircut. Choose the visible outcome first.
Step 1: Define what the layers need to change
Select one primary job:
- create visible movement through an otherwise solid shape
- frame the cheekbones, jaw, or collarbone
- redistribute visible weight through dense hair
- encourage separation in a wavy or curly silhouette
- soften a heavy perimeter without losing the overall length
- connect bangs or shorter front pieces to the rest of the cut
Then state what must remain unchanged. You may need a dense-looking lower perimeter, ponytail reach, the ability to braid, a smooth one-length appearance at work, or enough weight to prevent the surface from expanding.
Use this sentence:
I want layers to create [visible movement or frame] beginning around [body landmark], while preserving [length, perimeter, or practical option].
Avoid “take out weight” unless you can point to where the shape feels too full and where you still want density. Cutting can alter visible distribution; it does not change biological strand diameter or the number of follicles.
Output: one layer goal and one preservation rule.
Step 2: Map the hair that must support the shape
Assess the cut in your normal dry state:
- strand diameter: fine, medium, coarse, or mixed
- overall density: lower, medium, higher, or uneven
- texture: straight, wavy, curly, coily, or variable by area
- current length: including the shortest front and crown sections
- pattern behavior: where bends or curls begin and how much they shrink
- growth patterns: part, crown, hairline, and nape
- condition: breakage, chemical processing, fragile ends, or areas that need professional assessment
- routine: air-dried, diffused, blown out, straightened, tied back, or alternated
If “fine” and “thin” feel interchangeable, use the strand-and-density guide first. Fine strands can exist at high density, and coarse strands can exist at lower density. That combination affects how much visible perimeter you may want to keep.
Hair shape is also continuous rather than a few rigid boxes. Research on hair curvature describes wide variation in how fibres bend and twist, which is one reason the same layer map will not behave identically across people (International Journal of Cosmetic Science).
Output: a short hair-behavior profile based on your ordinary finish.
Step 3: Compare high, medium, and low layer zones
Use body landmarks rather than uncertain salon terms. Compare three versions:
- High starting point: visible movement begins around the crown, temples, or cheekbones.
- Medium starting point: the first obvious layer begins around the jaw or collarbone.
- Low starting point: most length stays continuous, with movement concentrated near the bottom.
| Layer zone | What it can emphasize | Main tradeoff |
|---|---|---|
| Crown to cheek | Lift, texture separation, strong face movement | Removes more continuous length from the upper silhouette |
| Jaw to collarbone | Moderate framing and movement | Front pieces may miss a ponytail depending on total length |
| Lower third | Long flowing movement with retained upper weight | Creates less visible change near the face and crown |
| Face only | Changes the front view while preserving much of the back | Side connection may look abrupt if the transition is not planned |
| Throughout | Redistributes movement around the whole head | Perimeter and back density need careful agreement |
Professional haircut education treats solid, graduated, uniformly layered, and increased-layered shapes as distinct foundational forms, which reinforces that “layers” is not one result (Pivot Point International). You do not need to name a technical form in the chair; you need to show the desired silhouette from more than one angle.
Choose one preferred zone and one more conservative alternative. Compare matching hairstyle examples such as face-framing layers, long layers, and the more pronounced classic shag.
Output: a preferred layer zone and a lower-commitment fallback.
Step 4: Write a visible-outcome brief
Build a consultation brief that a stylist can inspect and adapt:
GOAL: I want visible movement around [area].
FIRST LAYER: The shortest obvious piece I am considering ends around [landmark] when dry.
PERIMETER: I want the lower outline to look [full, soft, tapered, or separated].
KEEP: Please preserve [overall length, ponytail reach, density at the ends, or another constraint].
NORMAL FINISH: I usually [air-dry, diffuse, blow-dry, straighten, or alternate].
REFERENCE NOTES: This photo shows the front movement; this one shows the back and perimeter; ignore the color and styling finish.
QUESTION: How would you adapt this layer zone to my texture, density, condition, and growth patterns?
Select two or three images using the haircut-reference guide. Include at least one back or side view. Then ask the stylist to restate where the shortest layer will end when dry, how the layers connect, what happens to the lower perimeter, and which styling assumptions the reference makes.
If the shape requires regular heat to display its movement, include that in the decision. The American Academy of Dermatology advises limiting heat exposure and using low or medium settings to reduce damage (AAD). Choose a version that still works with the routine you will actually follow.
Output: a copyable brief and a two- or three-image reference set.
Layer decision table
| Decision | Your answer |
|---|---|
| Primary job of the layers | |
| Shortest acceptable dry point | |
| Preferred starting zone | |
| More conservative fallback | |
| Perimeter to preserve | |
| Tie-back requirement | |
| Normal drying method | |
| Front, side, and back reference notes | |
| Question for the hairstylist |
Common layer decision mistakes
Asking for more volume without naming the location
Volume at the crown, sides, cheekbones, and ends creates different silhouettes. Point to the intended area.
Assuming more layers always means more fullness
Layers can move visible weight, but short or extensive layers may also make the lower outline look lighter.
Judging only the front view
All-over layering changes the sides and back. Use references that reveal the perimeter and connection.
Forgetting the shortest piece
The shortest layer often determines tie-back, grow-out, and how much daily direction is needed. Agree on its dry endpoint.
Mixing cut and styling
A blowout can display layers dramatically; an air-dried version may look quieter. Identify which part of the reference is haircut and which is finish.
Prescribing technique from a social caption
Technique names can be inconsistent or incomplete. Describe the result and let the hairstylist select the safe, appropriate method.
Compare layer directions with Hair Fairy
After completing the worksheet, compare face-framing layers, long layers, and a butterfly cut with Hair Fairy. Keep the portrait, overall length, color, and texture direction fixed. Use Custom Style when you need to specify the shortest visible point or preserve a fuller perimeter.
Reject images that change your face, overall length, or texture while you are testing layer placement. A front-facing preview cannot show every layer, measure hair, predict natural behavior, or confirm cutting feasibility. Use the output as one reference beside real-hair side and back views, and review the privacy policy before uploading a portrait.
Decision summary
Choose layers by giving them one clear job, mapping the hair and routine that must support the result, comparing high, medium, and low starting zones, and writing a visible-outcome brief. Bring a preferred zone and a more conservative fallback. The hairstylist should decide the technique after confirming the dry endpoint, connection, perimeter, and practical tradeoffs with you.
Frequently Asked Questions
Questions about planning your haircut
How do I know where my layers should start?
Choose the first visible layer according to where you want movement or framing, then check whether that length works with your texture, density, shrinkage, and tie-back needs. A hairstylist should confirm how it will connect through the rest of the cut.
Do layers make hair look thicker?
Layers can redistribute visible volume or movement, but they do not change biological density or strand diameter. Extensive layering may make some perimeters look lighter, while restrained layers can preserve more lower fullness.
Are layers suitable for fine hair?
They can be. Light face framing or low, blended layers may create movement while retaining a substantial perimeter. The useful amount depends on overall density as well as fine strand diameter.
Are layers suitable for thick or dense hair?
Yes. Layers can change how visible weight is distributed, but the result depends on texture, length, internal shape, and perimeter. Ask how the cut will behave in your natural finish and as it grows.
What is the difference between face-framing layers and all-over layers?
Face-framing layers mainly change the front outline around the cheek, jaw, or collarbone. All-over layers continue through the sides and back, so they affect movement and weight across the whole silhouette.
Can an AI preview show whether layers will work on my hair?
It can compare visible layer directions in a front-facing image, but it cannot measure density, inspect the back, predict natural movement, determine technique, or guarantee the salon result.
About This Guide
Diane BennettWomen’s Hairstyle Editor, Hair Fairy
Diane writes and reviews Hair Fairy guides with a focus on realistic haircut decisions, clear salon communication, and styles that work beyond the inspiration photo. Her approach balances visual ideas with texture, maintenance, and everyday wear.
Women’s haircut selection, face-shape and texture considerations, salon-reference planning, maintenance trade-offs, clear stylist communication, and responsible use of AI hairstyle previews as decision aids rather than guarantees.
View author profileSee us more often in Google
One click marks Hair Fairy as a preferred source, so our articles are more likely to appear in your Top Stories, and can show a preferred badge in AI Mode and AI Overviews.
Compare Your Idea
Preview a hairstyle on your own photo.
Use a reference, a written description, or both—then discuss the practical result with your stylist.