
Haircut Decision Guides
How to Choose a Pixie Cut: 4 Steps
Choose a pixie cut by setting the exposure, mapping hair behavior, comparing top and fringe shapes, and preparing a practical salon brief.
 Diane Bennett8 min read
Choose a pixie cut by deciding how much ear, temple, nape, and forehead exposure you want; mapping your texture, density, hairline, crown, and normal styling; comparing the top, sides, fringe, and outline as separate choices; and taking one preferred pixie plus a longer fallback to a hairstylist. The right version is the one whose short shape and upkeep fit your actual hair and routine.
Key Takeaways
- “Pixie” covers many shapes, from soft long pixies to compact crops; specify the visible zones instead of relying on the label.
- Hairline and crown growth, texture, density, glasses, and daily resetting become more noticeable when surrounding length is removed.
- Bring front, side, and back references plus a longer fallback, and agree on the shortest acceptable areas before cutting.
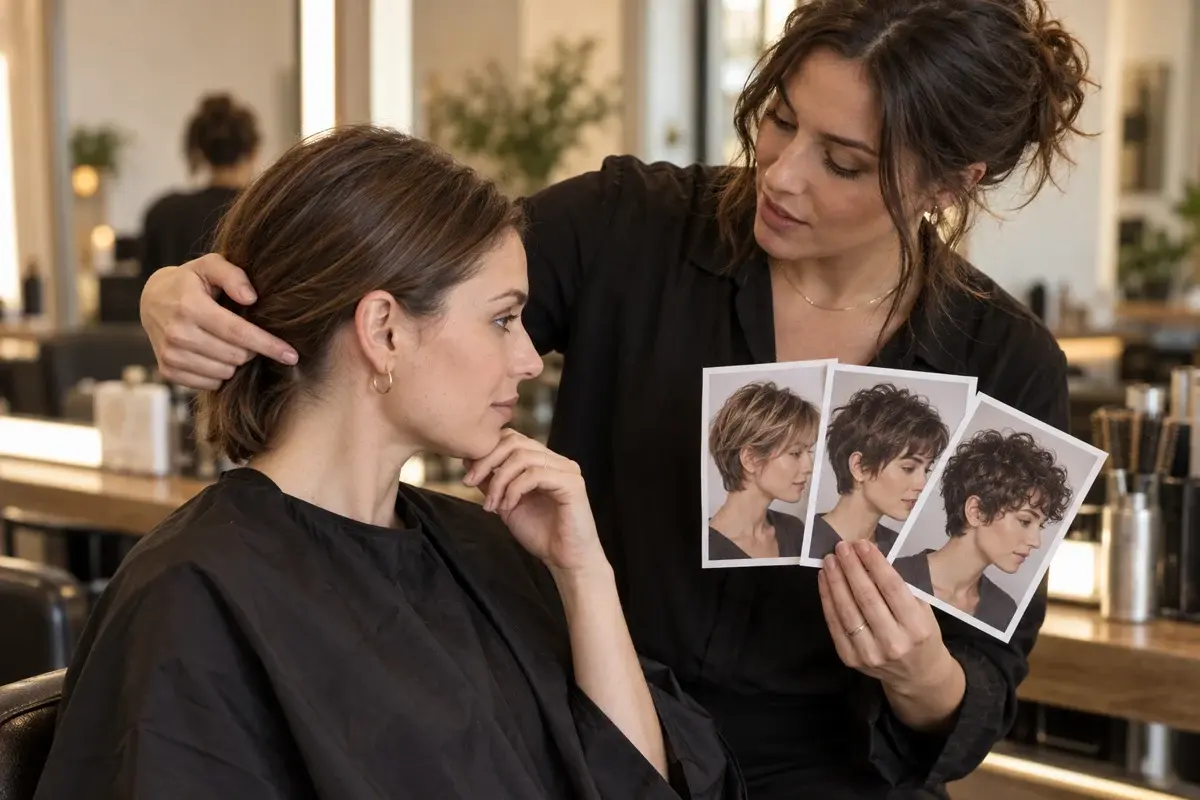
A pixie is not one fixed haircut. The category includes close crops, longer swept shapes, textured tops, curly silhouettes, undercut sides, and fringe-led versions. Make the decision zone by zone so the stylist knows what “pixie” means to you.
Step 1: Set your exposure and length boundaries
Start by deciding what the haircut may reveal. Tuck or pin your current hair back and inspect the front, both sides, and nape. For each zone, choose a preference and a boundary:
- Ears: fully visible, partly covered, or covered by longer side pieces
- Temples: open, softly framed, or covered by a side sweep
- Forehead: open, broken by a short fringe, or crossed by a longer fringe
- Nape: close and exposed, softly tapered, or left longer
- Sideburn area: cropped, pointed, soft, or tuckable
- Top: compact, softly rounded, separated, curly, or visibly lifted
Do not rely on “short but feminine,” “not too short,” or a celebrity name. Mark the shortest acceptable point on your own head and write it down. If the overall commitment is still uncertain, work through the broader short-hair decision guide first.
Output: an exposure map and minimum-length boundaries for the front, sides, and nape.
Step 2: Map how your hair will build the shape
Observe clean, dry hair in its normal finish. A short cut makes natural direction more visible because there is less surrounding length to weigh or conceal it.
Record:
- whether the hair dries straight, wavy, curly, or coily
- strand diameter and overall density as separate traits
- the natural part and any front lift
- crown whorls, cowlicks, and nape reversals
- shrinkage and spring when the hair dries
- areas that lie flat, expand, separate, or resist redirection
- whether you normally air-dry, diffuse, or use heat
- glasses, hearing devices, headsets, or hats that meet the sides
Scalp whorls reflect follicle growth direction, so a pixie needs to incorporate that direction rather than assume the top will rest exactly like a reference (American Journal of Medical Genetics). The cowlick-aware haircut guide helps if the crown or front hairline is the main constraint, while the strand-and-density guide separates two commonly confused traits.
If a reference depends on daily smoothing, include that requirement honestly. The American Academy of Dermatology advises limiting excessive heat and using low or medium settings when heat tools are used (AAD).
Output: a short list of hair behaviors the cut must follow, support, or leave enough length to manage.
Step 3: Compare the top, sides, fringe, and nape
Compare complete pixie directions, then break each one into four visible zones.
| Pixie direction | Top and fringe | Sides and nape | Main tradeoff |
|---|---|---|---|
| Classic pixie | Short, connected, compact | Neat around ears and nape | Least length for redirection |
| Long pixie | Longer sweep or soft volume | Compact but not severe | More daily placement |
| Textured pixie | Separated, piece-like movement | Short supporting outline | Texture may need resetting |
| Curly pixie | Curl or coil defines the top | Tapered or softly short | Dry shape and shrinkage vary |
| Bixie | Longer, bob-like pieces | More coverage at ears and nape | Less distinctly cropped |
| Undercut pixie | Strong contrast with longer top | Closely reduced sides or back | High exposure and visible grow-out |
Circle one preferred choice for each zone. You might want the top of a long pixie, the side coverage of a bixie, and a softly tapered nape. That is useful information; the hairstylist can decide whether the pieces form a coherent cut and which technique will produce it.
Professional haircut education distinguishes solid, graduated, and layered forms because weight and length distribution create different shapes (Pivot Point educational catalogue). Describe the visible result and let the stylist translate it into technique.
Output: one choice for the top, fringe, sides, and nape, plus the main tradeoff you accept.
Step 4: Build a preferred pixie and a fallback
Collect two or three references for the preferred pixie. Include a front view, a side showing the ear and temple, and a back showing the crown and nape. Choose references where the texture and density are relevant, and label exactly what each image contributes.
Then create a less-committed fallback:
- long pixie instead of a close classic pixie
- bixie instead of an exposed nape
- longer side-swept fringe instead of a short fringe
- soft taper instead of an undercut
- longer crown instead of short separated texture
Write a salon brief:
I want [top shape], [fringe direction], [ear coverage], and [nape finish]. My hair naturally [behavior]. The shortest I accept is [boundary]. I usually style by [routine]. If the preferred cut will not behave as shown, my fallback is [longer option].
Use the consultation guide to confirm the dry endpoint, maintenance, and grow-out plan before cutting.
Output: a labeled preferred option, a longer fallback, and a copyable salon brief.
Pixie cut decision worksheet
| Decision | Your answer |
|---|---|
| Ear exposure | |
| Temple and sideburn coverage | |
| Forehead and fringe direction | |
| Top length and finish | |
| Crown or cowlick note | |
| Nape exposure and outline | |
| Normal drying method | |
| Morning reset tolerance | |
| Shortest acceptable zone | |
| Longer fallback |
Common pixie cut decision mistakes
Choosing only from the front
A pixie’s side and back are major parts of the design. References must show ear coverage, crown shape, and nape finish.
Treating every pixie as equally short
The difference between a bixie, long pixie, and close crop can be substantial. Use landmarks and minimum lengths.
Ignoring the crown and hairline
Cowlicks, whorls, and natural separation may become more visible. Ask for a dry growth-pattern check.
Assuming short means no styling
Washing may be faster, but sleep movement, wetting, product placement, or fringe control can become a daily task.
Copying texture from the reference
The model’s curl, density, finish, or hairline may create much of the pictured result. Separate the haircut structure from the styled surface.
Leaving the fallback unspoken
If the preferred cut requires more exposure or shorter sections than you expected, decide in advance which longer version still meets your goal.
Compare pixie directions with Hair Fairy
After the independent plan is clear, compare a classic pixie, long pixie, and curly pixie on the same portrait. Keep color, camera angle, expression, and unrelated styling constant. Use Custom Style to describe specific ear coverage, fringe direction, or nape length.
Reject any result that changes the face, invents a hairline, replaces your texture, or ignores the requested exposure. A preview can clarify which visible direction you prefer, but it cannot inspect density, crown growth, shrinkage, cutting technique, or maintenance. Review the privacy policy before uploading a portrait.
Decision summary
Choose a pixie in four passes: set exposure boundaries, map natural hair behavior, compare the top, sides, fringe, and nape, then build a preferred option with a longer fallback. The strongest choice is not simply the shortest or most dramatic version; it is the one whose visible zones, daily reset, salon upkeep, and grow-out you understand and want.
Frequently Asked Questions
Questions about choosing and maintaining a haircut
How do I choose the right pixie cut?
Decide how much exposure you want, map your hair’s natural behavior, compare the top, sides, fringe, and nape, then take a preferred version and a longer fallback to a hairstylist for adaptation.
What is the difference between a pixie and a long pixie?
A classic pixie usually keeps the sides and nape compact with short top and fringe sections, while a long pixie retains more length for sweeping, tucking, or texture. Exact labels vary, so use visible landmarks.
Is a pixie cut low maintenance?
It removes long-hair handling but may need frequent morning resetting and more noticeable salon reshaping around the ears, fringe, and nape. Compare daily work and appointment upkeep separately.
Can curly or coily hair have a pixie cut?
Yes. A curly pixie can use natural texture as the main shape, but the dry length, shrinkage, density, pattern variation, hairline, and preferred crown volume need individual planning.
What if I am nervous about cutting my hair into a pixie?
Choose a long pixie or bixie as the preferred option, set firm minimum lengths around the front and sides, and bring a longer fallback. You can also discuss a staged transition with your hairstylist.
Can an AI preview tell me whether a pixie will work?
It can help compare visible exposure and silhouette, but it cannot inspect growth patterns, predict texture behavior, determine cutting technique, assess upkeep, or guarantee the salon result.
About This Guide
Diane BennettWomen’s Hairstyle Editor, Hair Fairy
Diane writes and reviews Hair Fairy guides with a focus on realistic haircut decisions, clear salon communication, and styles that work beyond the inspiration photo. Her approach balances visual ideas with texture, maintenance, and everyday wear.
Women’s haircut selection, face-shape and texture considerations, salon-reference planning, maintenance trade-offs, clear stylist communication, and responsible use of AI hairstyle previews as decision aids rather than guarantees.
View author profileSee us more often in Google
One click marks Hair Fairy as a preferred source, so our articles are more likely to appear in your Top Stories, and can show a preferred badge in AI Mode and AI Overviews.
Compare Your Idea
Preview a hairstyle on your own photo.
Use a reference, a written description, or both—then discuss the practical result with your stylist.